Table of Contents
ToggleFew things interrupt a cleaning routine quite like finding your Roomba blinking with an error code instead of docked and charged. Charging Error 8 is one of the more common issues iRobot owners encounter, and the good news is that it’s usually fixable at home without a service call. This error signals a communication problem between the robot and its charging base, typically caused by dirty contacts, a positioning issue, or a glitch in the charging cycle. Before you consider replacing your unit or shipping it off for repair, there are several straightforward troubleshooting steps that resolve the problem in most cases. This guide walks through what Error 8 means, what causes it, and how to get your Roomba back to work.
Key Takeaways
- Roomba Charging Error 8 is a communication problem between the robot and its charging base that’s usually fixable at home through contact cleaning, resetting, and power supply checks.
- Dirty or corroded charging contacts are the number one cause of Charging Error 8, so cleaning the metal pads on both the Roomba and Home Base should be your first troubleshooting step.
- Performing a soft reset or factory reset can clear software glitches preventing proper charging without requiring disassembly or technical expertise.
- Always verify the Home Base has stable power by testing the outlet and checking for tripped breakers, and ensure the dock is positioned on a level surface with proper clearance for robot approach.
- If the error persists after cleaning contacts, resetting, and power checks, your Roomba’s battery may have reached the end of its service life (typically 2–3 years) and require professional diagnosis or replacement.
What Does Charging Error 8 Mean on Your Roomba?
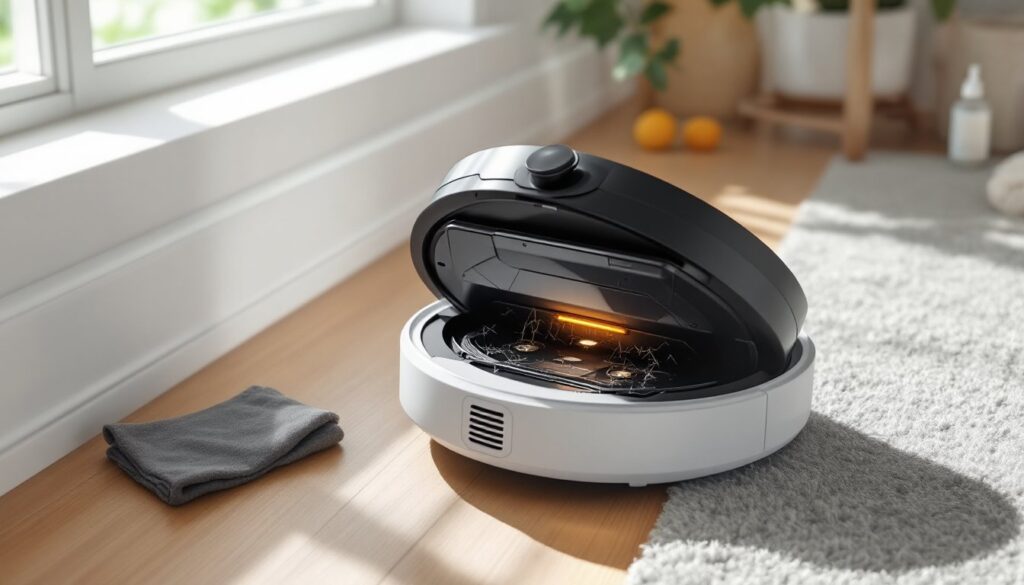
Charging Error 8 is iRobot’s way of telling you the battery isn’t charging properly. When this code appears, the Roomba has detected an interruption in the charging process, either it can’t establish a connection with the Home Base, the battery isn’t accepting a charge, or there’s a fault in the power delivery chain.
The error usually triggers after the robot returns to dock but fails to initiate or complete a charging session. You’ll see the error displayed on models with screens, or indicated by a specific light pattern on older units (typically a flashing amber light combined with error tone beeps). Consult your model’s manual for the exact light sequence, but the underlying issue is the same across the Roomba lineup: something is blocking the flow of power from the base to the battery.
Unlike mechanical blockages or wheel errors, Error 8 is electrical in nature. That means the fix often involves cleaning connections, resetting the system, or checking the power supply rather than dealing with brushes or sensors. It’s also worth noting that this error can appear intermittently, your Roomba might charge fine one day and throw Error 8 the next, especially if dust or debris builds up over time.
Most homeowners can resolve this without tools or technical experience. The key is working through the troubleshooting steps methodically, starting with the simplest fixes first.
Common Causes of Roomba Charging Error 8
Understanding what triggers the error helps you target the right fix. Here are the most frequent culprits:
Dirty or Corroded Charging Contacts
The metal contacts on the bottom of your Roomba and on the Home Base are the literal connection points for charging. Dust, pet hair, and oxidation can build up on these surfaces, creating resistance that prevents proper electrical contact. Even a thin film of grime can interfere with charging.
Misalignment on the Home Base
If the Roomba isn’t seated correctly on the dock, the contacts won’t line up. This can happen if the base has shifted on the floor, if the robot approached from an odd angle, or if debris is preventing a flush fit.
Power Supply or Outlet Issues
A loose wall plug, a tripped circuit breaker, or a failing power adapter can all cause charging interruptions. The Home Base needs a steady supply of power to charge the robot: any disruption will trigger an error.
Battery Age or Internal Fault
Roomba batteries are lithium-ion and have a finite lifespan, typically 400 to 600 charge cycles, or about two to three years of regular use. An aging battery may no longer accept a charge properly, even if everything else is functioning. Internal faults, though rarer, can also prevent charging.
Software Glitch
Occasionally, the Roomba’s onboard software gets stuck in a state that prevents charging from resuming. A simple reset clears these temporary errors and restores normal operation.
Each of these issues has a corresponding fix, and working through them in order usually identifies the problem quickly.
Step-by-Step Troubleshooting Guide
Work through these steps in order. Start with the easiest fixes and progress to more involved checks if the error persists.
Clean the Charging Contacts
Dirty contacts are the number one cause of iRobot Roomba charging error 8, so this should be your first move.
- Remove the Roomba from the Home Base. Make sure the unit is powered off.
- Flip the Roomba over and locate the metal charging contacts, usually two small, circular pads near the front.
- Wipe the contacts with a clean, dry cloth. For stubborn buildup, use a microfiber cloth lightly dampened with isopropyl alcohol (at least 70%). Avoid abrasive materials that could scratch the metal.
- Inspect the contacts on the Home Base. These are the matching metal prongs or pads. Wipe them down the same way.
- Check for corrosion. If you see green or white residue, gently clean it with a cotton swab dipped in vinegar or a contact cleaner spray (available at hardware stores). Let everything dry completely before reconnecting.
- Reposition the Roomba on the base and watch for the charging indicator light. If the error clears, you’re done.
Perform this cleaning every month or two, especially if you have pets or run the vacuum daily. Preventive maintenance keeps the contacts in good shape and reduces error frequency. For broader Roomba troubleshooting strategies, similar contact cleaning applies to other error codes as well.
Reset Your Roomba
If cleaning the contacts doesn’t resolve the issue, a reset often clears software glitches that interfere with charging.
Soft Reset (Most Models)
- Press and hold the CLEAN button for 10 to 20 seconds until you hear a tone or see the lights cycle. This varies slightly by model, so check your manual if unsure.
- Release the button. The Roomba will restart.
- Place it back on the Home Base and observe whether it begins charging normally.
Factory Reset (If Soft Reset Fails)
- For models with a display or app connectivity, navigate to the settings menu and select Reset or Factory Reset.
- For older models, press and hold the CLEAN button along with the SPOT and DOCK buttons simultaneously for about 10 seconds.
- This wipes saved maps and schedules, so you’ll need to reconfigure the robot after reset.
Resetting is non-invasive and doesn’t require disassembly. It’s a quick way to rule out transient errors before moving to hardware checks. Many common charging errors resolve with this step alone.
Check the Home Base and Power Supply
If the Roomba still won’t charge, the problem may lie with the dock or power supply rather than the robot itself.
- Inspect the power adapter. Make sure the cable isn’t frayed or pinched, and confirm the plug is fully seated in the wall outlet and the Home Base.
- Test the outlet. Plug a lamp or phone charger into the same outlet to verify it’s working. If the outlet is controlled by a wall switch, make sure the switch is on.
- Check for a tripped breaker. If the outlet is on a GFCI circuit (common in garages or near water sources), press the reset button on the outlet.
- Try a different outlet. Plug the Home Base into another outlet on a different circuit to rule out power supply issues.
- Examine the Home Base for damage. Look for cracks, loose parts, or debris lodged in the contact area. Remove any obstacles and ensure the base sits flat on the floor.
- Reposition the Home Base. Place it against a wall on a hard, level surface with at least 1.5 feet of clearance on each side and 4 feet in front. The Roomba needs a clear approach path to dock properly.
- Place the Roomba manually on the dock. Align the contacts carefully and watch for the charging light. If it charges when manually placed but Error 8 appears after an automatic docking, the issue is likely alignment or approach angle, adjust the base location.
As smart home devices become more complex, power supply troubleshooting is a universal first step for connectivity and charging issues.
If none of these steps resolve Error 8, the problem may be internal, either a failing battery or a fault in the charging circuitry.
When to Contact iRobot Support or Consider Replacement
If you’ve cleaned the contacts, reset the unit, checked the power supply, and the error persists, it’s time to consider professional support or replacement.
Battery Replacement
If your Roomba is two to three years old and has been used regularly, the battery is likely at the end of its service life. Replacement batteries are available directly from iRobot or third-party suppliers. Genuine iRobot batteries cost around $60 to $80 and come with a warranty: third-party options run $30 to $50 but may have shorter lifespans.
Replacing the battery is straightforward on most models, remove a few screws, disconnect the old battery, and snap in the new one. But, if you’re not comfortable working with electronics, iRobot customer service can walk you through it or arrange a repair.
Warranty and Support
If your Roomba is still under warranty (typically one year from purchase), contact iRobot support before attempting any repairs or battery swaps. They may replace the unit or offer a repair at no cost. Have your model number and purchase date ready.
Even out of warranty, iRobot’s support team can run diagnostics remotely if your model connects to the app, and they’ll advise whether a repair is cost-effective or if it’s time to upgrade.
When Replacement Makes Sense
If your Roomba is several generations old, repair costs may approach the price of a new model with improved features, better navigation, stronger suction, or longer battery life. Weigh the cost of a battery and potential circuit board repair against a new unit. Newer models also integrate better with smart home systems and offer app-based scheduling and diagnostics.
Safety Note
Never attempt to disassemble the charging base or modify the power adapter. These components carry line voltage and should only be serviced by qualified technicians. Always unplug the base before cleaning or inspecting.
For persistent issues that don’t resolve with user-level troubleshooting, professional diagnosis is the safe and sensible next step.